

Tree Clearing for Property Projects: Permits, Costs, and Environmental Tips
If your project involves grading, building, or even just opening a driveway, tree clearing is usually the first and most consequential job you will face—because it triggers permits, costs, and environmental rules. This guide explains when permits are required, realistic line item costs for tree removal, stump grinding, hauling, and erosion control, and practical steps to minimize habitat loss and soil damage. Use the checklists and contractor questions here to avoid delays, fines, and surprise expenses while keeping restoration and safety on track.
When You Need a Tree Clearing Permit
Key trigger: Permits for tree clearing are determined by specific, local rules — not by a blanket definition of clearing. Typical triggers are tree size (measured as DBH), protected species or specimen trees, trees inside riparian or wetland buffers, conservation easements, work that impacts critical root zones, and any clearing tied to land development or right-of-way work.
Municipal examples that show how different rules can be
Seattle example: The City of Seattle requires permits and tree protection plans when construction affects regulated trees — see Seattle codes for thresholds and required documentation. Los Angeles County example: many southern California jurisdictions treat native oaks and other species as protected regardless of diameter and require mitigation planting. Typical suburban county example: some counties require permits only for trees over 6 inches DBH; that threshold looks permissive but still catches most mature landscape trees.
Practical trade-off: Applying for a permit can add days to weeks to your schedule, and permit conditions — fencing, phased clearing, mitigation planting — add cost. That sounds like friction, but in practice the trade-off is between immediate speed and regulatory risk: unpermitted clearing exposes you to stop-work orders, restoration orders, and fines that are almost always more expensive than compliant mitigation.
Concrete example: A homeowner clearing a 0.5-acre lot for a new driveway in a county with a 6-inch DBH trigger had three trees flagged by the planner. An ISA certified arborist prepared a quick inventory and proposed selective clearing plus stump grinding and a 2:1 replanting plan. The pre-application meeting cut an expected 30-day review down to 10 days and avoided a full restoration order — it cost the owner an arborist fee but saved the project schedule.
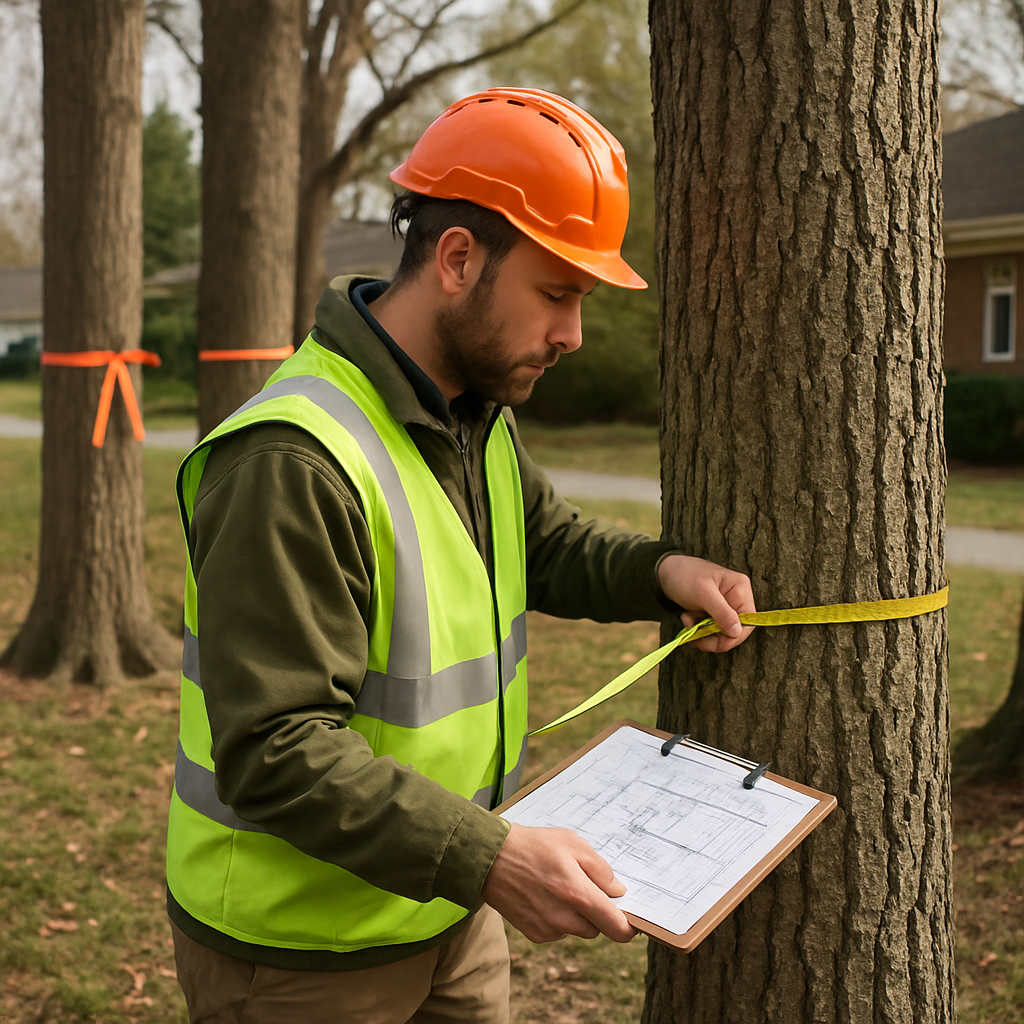
What planners will expect: Prepare the usual package to avoid delays: a site map showing tree locations and DBH, an arborist report with critical root zone calculations, a tree protection and staging plan, an erosion control plan if grading is planned, and contractor credentials. Submitting clear photos and a short narrative of the work area speeds reviews.
- Required docs often include: site plan with tree tags
- Arborist deliverable: risk and mitigation recommendations
- Erosion control: sediment fencing or phased clearing notes
- Contractor info: insurance and scope to show competent execution
Judgment: In most real-world projects you win time and reduce cost by getting an arborist involved before bidding or starting. Contractors often know how to cut trees; they are less consistent at producing permit-ready reports and protection plans. If you rely on the contractor to handle permits, insist the bid includes permit deliverables and approvals in writing.
Step by Step Permit Application Process
Start with the package, not the chainsaw. Municipal reviewers reject or slow permit applications because the paperwork does not establish the work area, impacts to the critical root zone, or erosion controls up front. For tree clearing projects, the application is judged on clarity and traceability: clear maps, tagged photos, and an arborist narrative beat vague sketches every time.
Pre-application work you must finish before you submit
Essential deliverables: produce a georeferenced site plan with tree tags and DBH, a mapped staging and haul route, measured photographs showing scale, and an arborist report with risk ratings and critical root zone calculations. Add an erosion and sediment control sketch if grading or lot clearing is involved and attach contractor insurance and equipment lists to show competence.
If you do not have an arborist report, get one early. An ISA certified arborist can often substitute a costly habitat study by proposing targeted retention and mitigation. See arborist services for typical deliverables that smooth reviews.
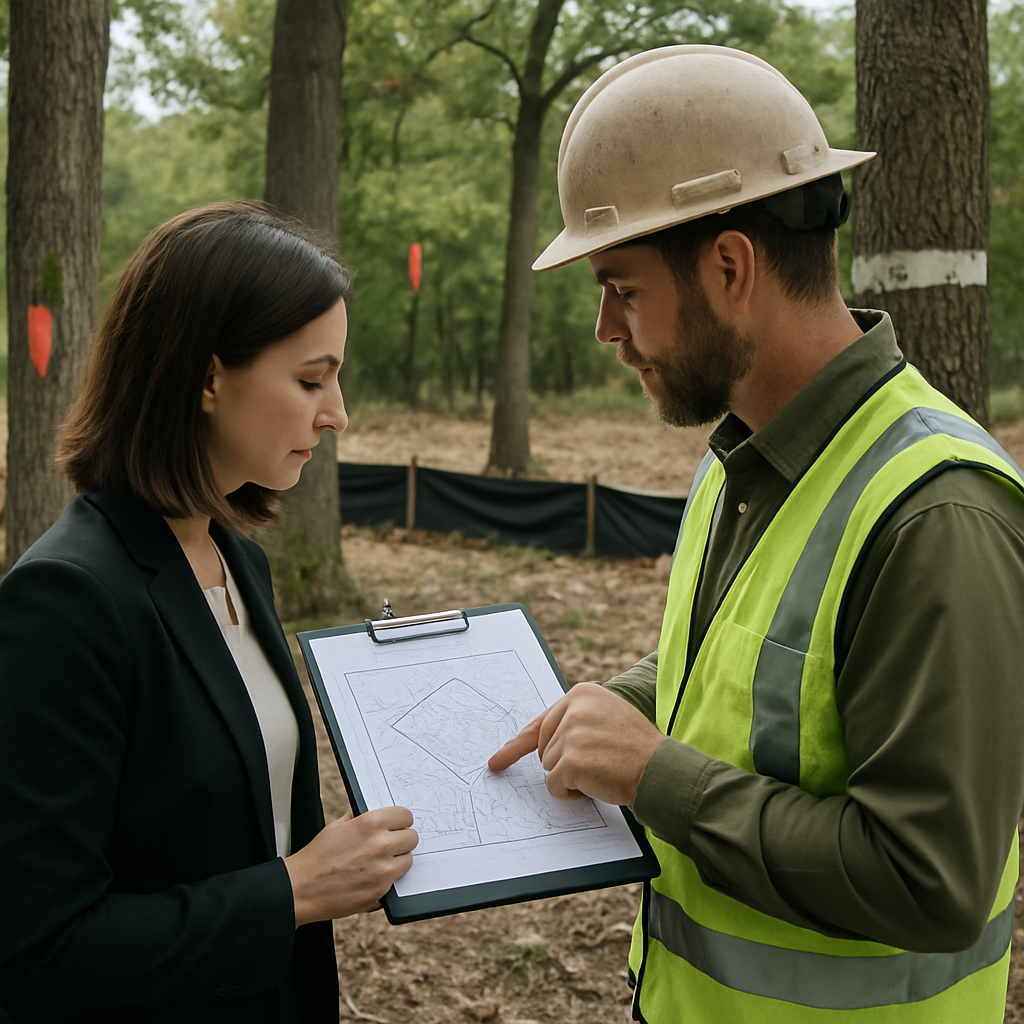
- Step 1: Pre-application meeting. Book a meeting with planning or permitting staff to confirm thresholds and required reports; use that meeting to verify filing formats and upload methods.
- Step 2: Assemble the package. GIS-ready plan, tree inventory, photos, arborist report, erosion control sketch, contractor credentials, and fee estimate.
- Step 3: Submit and pay. Follow the municipality file naming and upload rules; a single ZIP with clearly labeled PDFs reduces clerical delays.
- Step 4: Respond to review comments. Expect redlines on CRZ math, staging locations, or mitigation ratios. Respond concisely with revised pages rather than re-submitting the entire packet.
- Step 5: Field inspection and conditions. Inspections may be required before clearing begins; be prepared to install temporary fencing, silt control, or staking for trees to be preserved.
- Step 6: Permit closeout. Schedule final inspection, provide as-built photos, and submit mitigation bonds or replanting schedules if required.
Practical trade-off: pushing to start work before permit closeout often leads to stop-work orders that cost more in delays than the permit itself. Conversely, overbuilding the package with unnecessary reports increases upfront cost. The middle path is a targeted arborist report and a clean site plan tailored to the planner's checklist.
Concrete example: A commercial developer preparing a stormwater pond on a 2-acre parcel scheduled for lot clearing discovered a mapped wetland buffer during the pre-application meeting. Replacing a generic clearing plan with a focused tree removal + buffer protection drawing and a short habitat memo reduced required mitigation from a 3:1 replanting ratio to 1.5:1, saving weeks and significant planting cost.
Most permit delays come from poor site context: missing CRZ calculations, unclear staging, or absent erosion controls. Fix those three and your review time drops substantially.
Breaking Down Tree Clearing Costs
Costs are not linear. For tree clearing the headline price you get on a phone call is frequently the least important number — what matters is how the crew will work: access, staging, equipment choices, disposal method, and regulatory conditions determine final cost far more than tree count alone.
Primary cost drivers to watch
- Access and site logistics: narrow drives, overhead utilities, or required crane work inflate labor and equipment hours.
- Tree size and condition: DBH, rotten cores, and lean determine crew size and hours; hazardous tree removal multiplies risk premiums.
- Disposal method: hauling to a transfer station, chipping on-site, or recycling as firewood have very different unit costs.
- Regulatory and mitigation requirements: permit fees, protection fencing, erosion controls, and mandated replanting add fixed costs that are often overlooked.
- Equipment choice: forestry mulching reduces haul-away but can increase machine-hours and may not be allowed in protected buffers.
| Line item | Typical per-unit range | Notes |
|---|---|---|
| Tree removal (small 6-12 in DBH) | $150 – $600 | Accessible yard trees with no major hazards |
| Tree removal (medium 12-24 in DBH) | $600 – $1,500 | May require traffic control or crane for tight sites |
| Tree removal (large 24+ in DBH) | $1,500 – $5,000+ | Hazardous or congested sites on the high end |
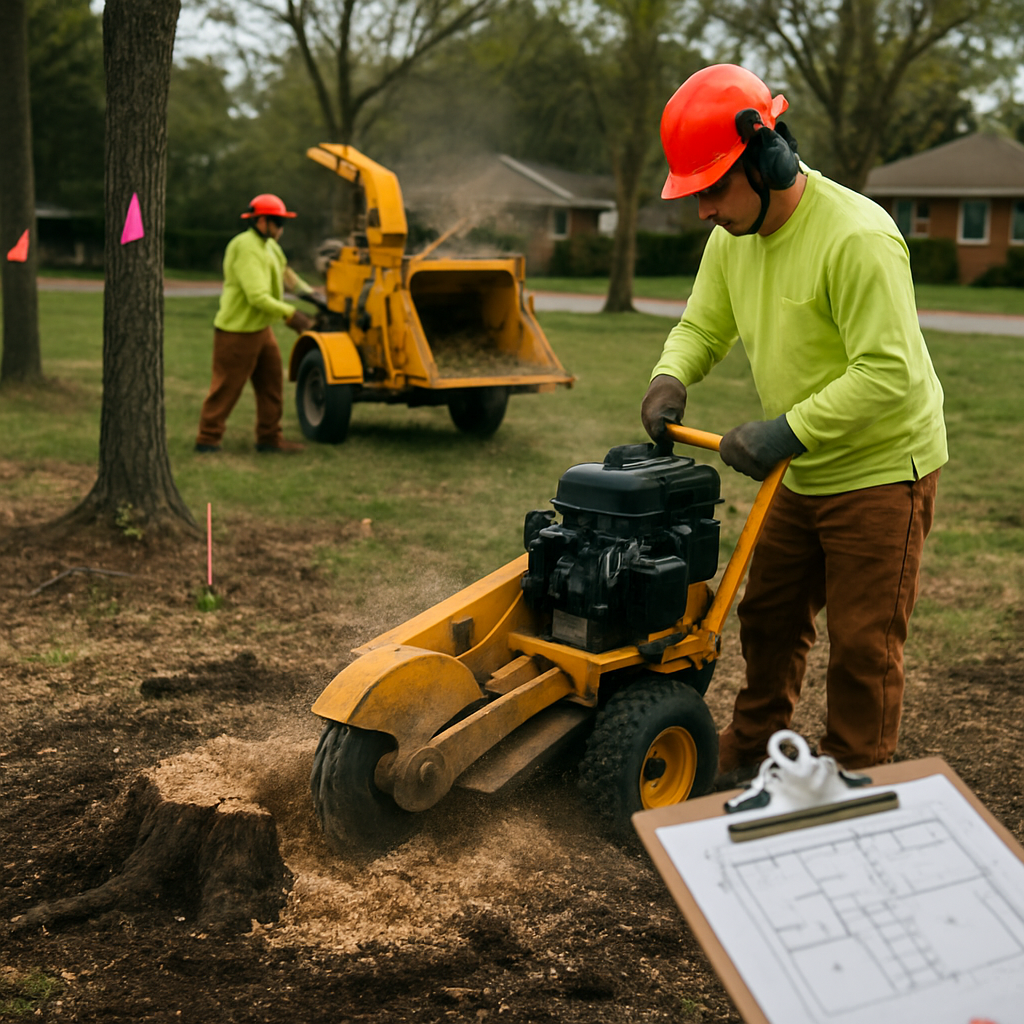
| Stump grinding | $75 – $400 per stump | Depends on stump diameter and depth |
| Haul-away / green waste disposal | $200 – $800 per truckload | Local tipping fees and chipper time vary regionally |
| Permit, plan, and arborist fees | $50 – $2,000+ | Simple permits are cheap; arborist reports and mitigation raise cost |
| Erosion control and sediment measures | $500 – $3,000 | Silt fence, wattles, phased clearing and inspection costs |
| Site grading and prep | $1,000 – $10,000+ | Depends on machinery, haul distances, and finish tolerance |
| Replanting / mitigation | $200 – $1,500 per tree | Planting size, species, and irrigation increase cost |
| Contingency | 10% – 25% | Plan for unexpected hazards, root conflicts, or permit conditions |
Concrete example: A homeowner clears a 0.25-acre build pad with four medium trees, three stumps to grind, one truckload of chips, permit and a basic erosion control setup. Real-world bids clustered because access was good: total cost ranged between $4,200 and $7,500 depending on whether the contractor included hauling and permit filing. The lower bid excluded permit assistance and added costs appeared as change orders.
Practical trade-off: Forestry mulching cuts hauling and speeds clearing but leaves root mass that complicates foundations and can trigger different permit rules; full removal gives a cleaner pad but costs more up front and creates larger disposal needs. Pick based on downstream site work, not just the cheapest clearing method.
When comparing quotes, insist on line-item pricing for removal, stump grinding, haul-away, permits, erosion controls, and contingency. A one-line total hides the place where costs creep up.
Environmental Best Practices for Clearing Projects
Start with protection, not restoration. The cheapest environmental outcome is the one you never have to fix: identify trees and groundcover that materially reduce erosion, shade exposed soils, or provide wildlife corridors and protect them through design and staging.
On-site tactics that actually work
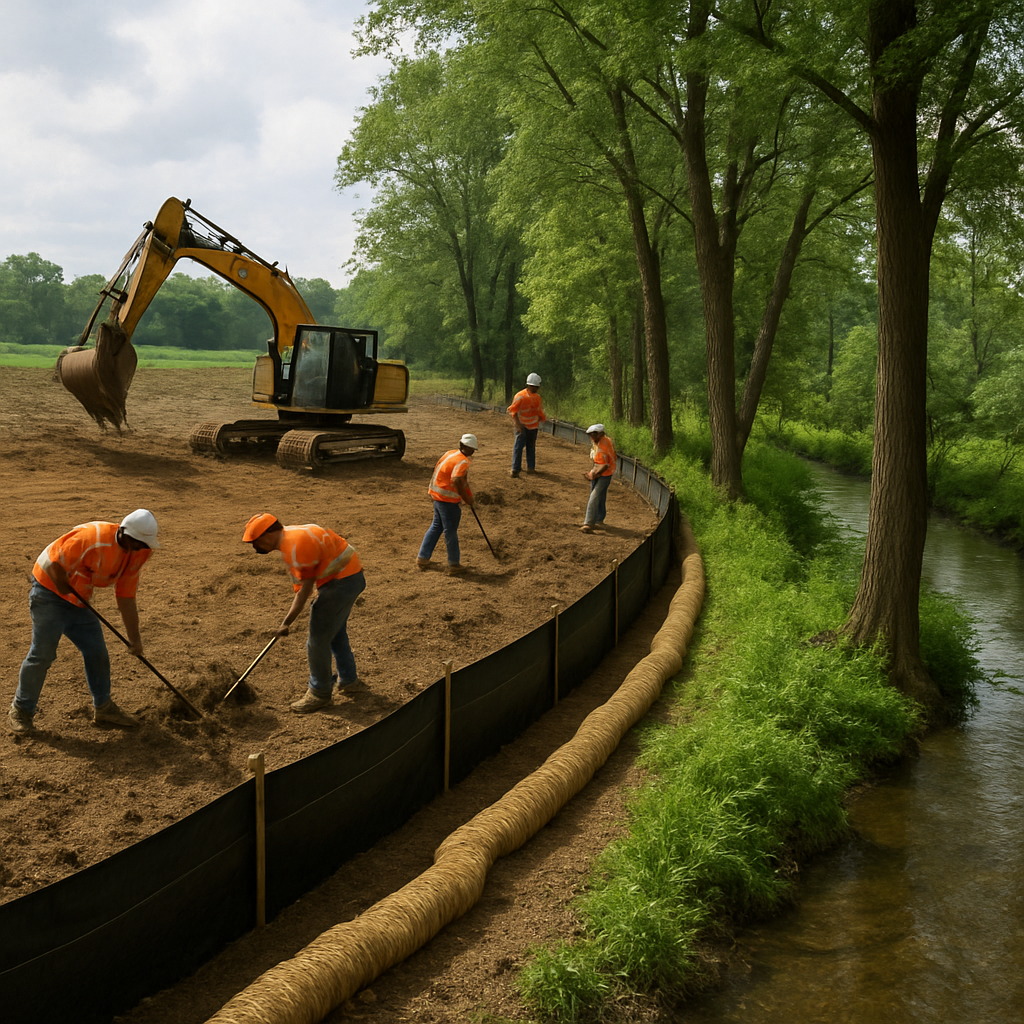
Targeted retention is critical. Preserve continuous buffers along streams, steep slopes, and perimeter hedgerows rather than scattering preserved trees. A continuous strip controls sediment better and maintains habitat connectivity; isolated saved trees deliver less ecological value than planners expect.
- Erosion-first controls: install temporary mulch, wattles, and keyed silt fencing before any felling; do not wait until after logs and slash are moved.
- Phased clearing: work in small blocks so exposed area never exceeds what your stormwater plan can handle, and schedule high-disturbance work in the dry season where allowed.
- Selective techniques: use directional tree felling and hand-clearing at buffer edges to avoid heavy machinery in sensitive zones, and use forestry mulching only when root mass left behind will not interfere with foundations or utilities.
Trade-offs to accept up front. Forestry mulching reduces hauling and creates quick erosion cover but leaves root collars and organic matter that complicate grading and buried utilities. Full removal creates better long-term site preparation but increases disposal volume and short-term erosion risk. Choose based on downstream construction needs, not just clearing day savings.
Habitat measures that pass municipal and practical tests. If the site touches wetlands, known wildlife corridors, or exceeds local acreage thresholds, order a habitat or nesting survey early. When surveys arent required, retain snags and log piles in non-hazard zones to provide interim wildlife habitat, and time major clearing outside nesting seasons where feasible.
Invasive species control is not optional. Disturbance favors invasives. Treat exposed soils with seed mixes of site-appropriate native grasses and forbs immediately after grading, and include a 2-year monitoring budget for follow-up spot treatments.
Example case: A developer clearing 3 acres adjacent to a mapped stream chose phased clearing with a 30-foot preserved riparian strip and on-site chipping for brush. The approach met county stormwater conditions, reduced the mitigation planting ratio at review, and avoided costly off-site compensatory planting while keeping the build timeline on track.
Preserving a continuous buffer and phasing work cut both mitigation costs and inspection delays more often than planting compensatory trees after the fact.
Next consideration: before bids are finalized, require each contractor to show how they will implement the erosion controls, invasive species plan, and habitat protections in their schedule and price. That prevents scope gaps and expensive change orders once clearing starts.
Hiring a Contractor and Working with an Arborist
Hire for documented risk control, not for the lowest day rate. A good contractor removes trees; a good arborist prevents regulatory missteps, reduces unnecessary removals, and limits post-clearing surprises. Treat the arborist as a project deliverable with specific outputs rather than an optional consultant you call if something goes wrong.
Practical division of responsibility
Who does what: Contractors provide equipment, crew, traffic control, and debris management; arborists provide tree health assessment, critical root zone calculations, risk ratings, and permit-ready reports. Don’t assume the contractor can produce a defensible arborist report unless that person is a certified arborist and the contract names them and ties deliverables to payment.
- Must-verify documents before signing: ISA certification number and copy of the arborist report, certificate of insurance with policy limits, business license, and a clear scope showing staging, haul routes, and disposal method.
- On-the-ground deliverables: pre-work condition photos and map, CRZ staking or flagging, mid-job inspection(s) by the arborist, and an as-built report for permit closeout.
- Pricing transparency: unit prices for removal, stump grinding, chipper hours, and haul-away; specify who pays tipping fees and how unexpected hazardous-tree work will be quoted.
Trade-off to accept: Paying for on-site arborist time usually adds 1%–3% to clearing costs but prevents the far larger expense of failed permit inspections, forced replanting, or structural foundation conflicts caused by root damage. If the site touches wetlands, utilities, or specimen trees, that small premium is insurance you will appreciate.
Concrete example: A homeowner about to build an addition hired a contractor who planned to remove two large maples. The property owner required an ISA-certified arborist to prepare a short mitigation plan. The arborist recommended root protection and selective pruning instead of removal; the contractor executed the plan under arborist supervision and the project avoided a formal mitigation planting requirement that would have added several thousand dollars and delayed the build.
- Red flags that deserve a hard no: vague mobilization schedule, refusal to commit in writing to protecting marked CRZs, no debris disposal plan or subcontract roster, and pushback on permitting language in the contract.
- Good clauses to demand: holdback tied to permit closeout, change-order procedure for hazardous finds, and an explicit warranty period for cleanup and invasive-species follow-up.
Final judgment: Most delays and extra costs on clearing jobs come from poor scope definition and weak contractual incentives. Insist on documented arborist deliverables, tie payment to permit milestones, and verify insurer and certification details before you allow any work to start. For permit-ready reports and on-site supervision, see arborist services and to compare execution approaches review practical removal options at tree removal.
Site Preparation, Safety, and Project Management
Site prep wins or loses projects. For any significant tree clearing job, the work you do before the first cut determines schedule risk, permitting compliance, and how cleanly you can hand the site to the next trades.
Practical on-site sequencing
Establish control lines first. Install erosion controls, CRZ protections, and staging limits before heavy equipment arrives; those temporary measures are cheap compared with rework after unauthorized root damage or sediment discharge.
- Utility clearance: call
811and get written confirmation; if power lines are present, coordinate with the utility for de-energizing or a qualified line-clearance crew. - Access and mats: designate routes for tracked and wheeled machines and protect them with timber mats or geo-matting where compaction would harm retained trees or future foundations.
- Staging and haul: pin down chipper location, chip pile limits, and truck haul routes to avoid last-minute traffic-control permits or neighbor complaints.
- Document control: keep the permit, arborist report, and tree protection plan on-site (paper or tablet) and post the permit number at the entrance.
Safety is procedural, not optional. Put exclusion zones and a daily safety briefing into the schedule. A single unmarked rig entering a critical root zone or a chipper without a spotter creates liabilities that double cost when an incident happens.
Project management disciplines that matter: assign a single point of contact for permits, one for arborist coordination, and one for field safety. Require time-stamped photos at three milestones: pre-work, mid-job (after any work near preserved trees), and post-clearing for permit closeout.
Practical trade-off to accept: tighter upfront controls increase mobilization time and line items in bids, but they shrink the chance of stop-work orders and expensive corrective plantings. If site constraints force you to choose, prioritize CRZ protection and erosion controls over speed.
Concrete example: A builder clearing a 1-acre suburban lot scheduled house footings two weeks after clearing. They installed silt wattles and CRZ fencing and required the contractor to use timber mats for the loader route. Mid-job arborist inspection caught a root incision that would have impacted the foundation; the crew rerouted equipment in one afternoon and the footing schedule stayed intact.
Keep the permit packet and the arborist contact on site. Inspect at pre-dawn and again before machines leave for the day to avoid unpermitted drift or erosive runoff.
CRZ fencing; silt control (wattles/silt fence); utility clearance documentation; equipment access plan with mats; daily safety brief sign-in; photo log for three milestones.Next step: require each bid to include a short site-prep schedule and a holdback tied to the municipal inspection milestone so preparation and safety measures are priced, not assumed.
Post Clearing Restoration and Long Term Maintenance
Immediate priority: repair the soil and stabilize exposed surfaces before planting. Compacted, mixed, or scraped soils from clearing rarely support new trees without remediation; if you skip decompaction and organic amendment you will pay later in high mortality and extra irrigation.
Soil work that matters: test pH and texture, mechanically decompact the top 6–12 inches where heavy equipment passed, and incorporate 2–4 inches of well-aged compost or topsoil blends in planting strips. Mycorrhizal inoculants help in degraded soils but are not a substitute for correcting compaction and drainage.
Practical post-clearing sequence
- Survey and prioritize: map slopes, erosion-prone zones, and remaining root systems so planting and stabilization match the site risk.
- Stabilize first: apply erosion controls (hydroseed, coir blankets, wattles) to gentle slopes and immediate run-off pathways before any planting crew arrives.
- Plant for the future: choose native, site-adapted stock sized for survivability (1–2 inch caliper for trees, larger shrub plugs where needed) and locate specimens away from future utilities and foundations.
- Maintenance plan: set a 24-month maintenance schedule with irrigation, mulching, weed control, and at least three performance checks by an arborist or landscape pro.
Trade-off to accept: larger container trees establish canopy faster but cost 3–5 times more and need heavier lifting equipment that can disturb remediated soils. Planting smaller stock and committing to irrigation and a 2-year maintenance window is cheaper and often results in better long-term survival on disturbed sites.
Stump and debris choices: decide between stump grinding and whole-stump removal based on downstream use. Grinding is faster and recycles chips for mulch; whole removal is necessary where deep footings or tight grade tolerances are required. Coordinate disposal with local green waste facilities or wood-chipping services to avoid illegal dumping and additional tipping fees — see stump grinding and wood chipping services.
Invasive control and monitoring: clearing creates a window for invasives. Budget for quarterly inspections the first year and spot treatments the second year. Many projects fail because owners treat planting as one-off; weeds and invasives exploit bare soil and undo planting benefits quickly.
Long-term maintenance cadence: first 12 months = frequent watering (bi-weekly deep soak or drip), mulch renewal at year 1, formative pruning at year 2–3, and an arborist health check at year 3. For fire-prone or defensible-space landscapes, add annual fuel reduction and firebreak clearing tasks into the calendar.
Important: budget at least 10%–20% of your planting cost for two years of maintenance. Underfunding maintenance is the single most common cause of restoration failure.
Concrete Example: A contractor cleared a half-acre for a new drive on a sloped suburban lot. They decompacted machinery tracks, installed hydroseeding on the slope, planted a mix of native shrubs and 1.5-inch caliper trees above the drive, and attached a 24-month maintenance contract with scheduled irrigation and invasive monitoring. Two years later erosion was controlled and canopy cover reached planting targets with half the replacement rate expected for unamended sites.
Final judgment: restoration is where most projects lose budget and ecological value. Spend on soil repair, a realistic maintenance window, and species suited to the site rather than on cosmetic trees. The correct investment now prevents expensive rework, erosion claims, and failed mitigation orders later.
0 Comments