

Complete Tree Maintenance Services: A Checklist to Keep Your Trees Healthy
Trees on suburban and urban properties decline fast when care is sporadic and seasonal tasks are missed. This checklist lays out practical, month-by-month actions, separates what homeowners can safely do from when to call tree maintenance services, and helps you prioritize safety risks and budget trade-offs. Expect specific timings like pruning windows, mulch depth of 2 to 4 inches, soil test frequency, signs that require a certified arborist, and easy templates to request an on-site assessment.
Seasonal Maintenance Calendar: Monthly and Seasonal Tasks
Treat the year as a predictable maintenance cycle, not a set of ad hoc fixes. Building a monthly habit reduces emergency costs and preserves tree value — but the exact work should be adjusted by species, site moisture, and recent weather.
Quick, action-oriented calendar
- December–February (dormant window): Schedule major structural pruning, plan cabling/bracing installations, and book any large removals to avoid spring backlog. Have a certified arborist do work on trees taller than 20 feet or near structures — this is heavy rigging season for professionals.
- March–May (spring growth): Perform light corrective pruning on non-flowering species, refresh mulch rings, and collect soil cores for
pHand nutrient analysis before active root growth. Delay pruning of spring-blooming trees until after they finish flowering. - June–August (stress monitoring): Monitor for insects and foliar diseases; increase irrigation frequency in heat spells for newly planted trees. Avoid large crown reductions during sustained high temperatures — trees under heat stress are slower to compartmentalize cuts.
- September–November (pre-winter prep): Remove deadwood and weak co-dominant stems, adjust root protection zones before frost heave, and apply targeted fertilization only if soil tests indicate deficiencies. Final hazard checks before storm season reduce emergency service calls.
Trade-off to accept: DIY tasks like mulching, light pruning, and irrigation adjustments save money but do not replace professional risk assessment. Expect to call in arborist services for any work involving significant canopy weight, visible decay, or proximity to powerlines.
Concrete Example: In a recent suburban job, Mr Tree Inc. scheduled winter structural pruning for a large maple to correct a multi-leader form. The winter cuts reduced sail area and, when summer storms arrived, that tree required only minor follow-up instead of an emergency removal that would have cost three times the planned maintenance.
Key timing note: Prune spring-flowering trees immediately after bloom; prune shade trees in their dormant season to guide structural form — wrong timing increases stress and reduces flowering or wound closure.
Practical sequencing matters. Always pair a canopy task with a root/soil check the same visit when possible: pruning increases water demand and exposes roots that may already be stressed by compaction or poor nutrition. Combining a tree inspection with a soil test cuts repeat mobilization costs and gives the right fertilizer or aeration prescription.
When to escalate: If a tree shows sudden lean, audible cracking, bracket fungi on the trunk, or major root heave, treat it as an immediate call for emergency tree service. Use Mr Tree Inc. Emergency Tree Services for fast response and documented risk scoring.
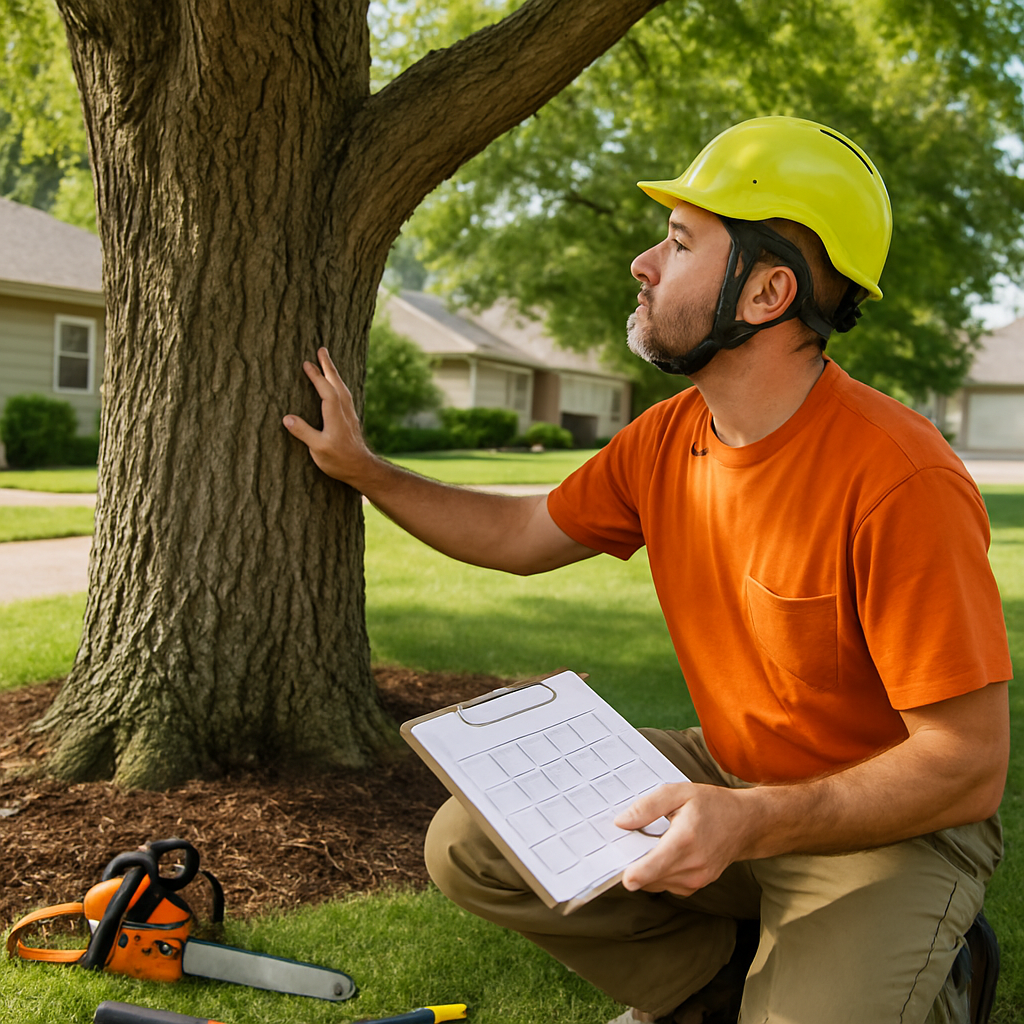
Routine Inspection Checklist for Tree Health and Structure
A short, focused inspection identifies 70–80 percent of actionable issues before they become emergencies. Use the checklist below as a repeatable routine you or a maintenance crew can run through in 10–20 minutes per tree; anything flagged should move to a prioritized action list or professional assessment.
The 8-point inspection framework
- Canopy scan: Walk the drip line and look for asymmetry, clusters of dead branches, or increased epicormic shoots. Heavy epicormic growth often signals root or trunk stress and is not solved by repeated pruning alone.
- Trunk and crotches: Inspect for longitudinal cracks, lightning scars, and included bark at unions. Probe visible cavities gently; large cavities that remove more than one-third of cross-section need a certified assessment.
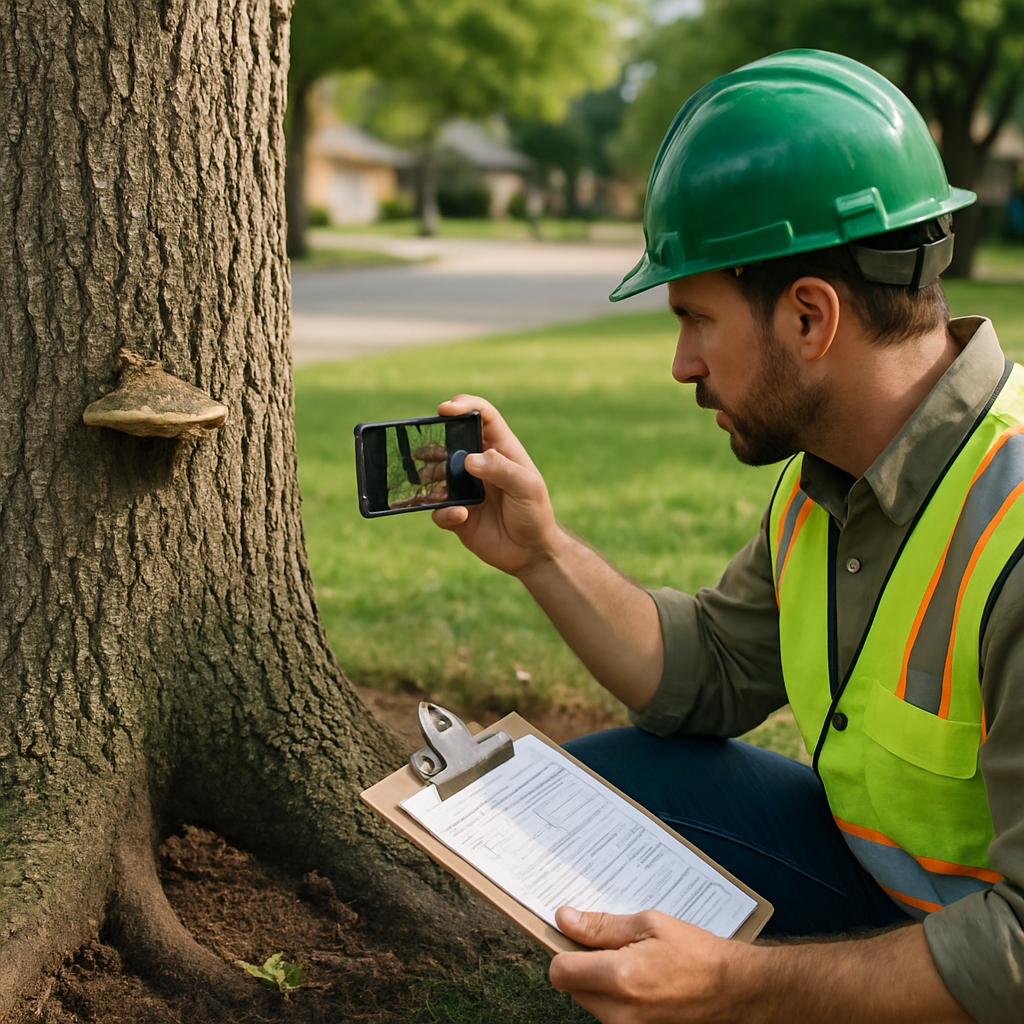
- Root collar and soil: Expose the
root collarvisually — mulch deeper than 4 inches or soil piled against the trunk is a common invisible killer. Check for shallow roots, soil washout, or new heave after storms. - Fungal and insect signs: Note fruiting bodies, pitch flows, exit holes, galleries, and sooty residues. One bracket can mean significant internal decay; treat any active boring insect or root-rot fungus as high priority.
- Mechanical damage and compaction: Look for mower/weedwhacker wounds, trunk abrasions, or compacted soil under canopies from foot or vehicle traffic. Compaction reduces oxygen to roots and limits recovery after pruning.
- Site changes: Record nearby construction, grade changes, new utilities, or hardscape that alter drainage or root zones. These changes commonly precede decline and require early mitigation.
- Documentation: Take north-facing, south-facing, and detail photos with date stamps, and log each tree on a simple severity scale (1 = healthy, 5 = immediate action). Video from a slow 360-degree walk is often more revealing than single photos.
- Decision trigger: Assign each finding to DIY maintenance, scheduled professional services, or immediate escalation. Use Mr Tree Inc. Arborist Services when structural decay, major root issues, or work near utilities are present.
Trade-off to accept: Frequent homeowner inspections are low-cost but limited in diagnostic power; only a certified arborist can perform decay mapping, root zone investigations, or prescribe treatments like deep root fertilization or cabling. Rely on professionals for anything beyond visual triage.
Concrete Example: A property manager used this checklist quarterly and flagged a buried root flare with progressive crown thinning. A follow-up site visit by Mr Tree Inc. combined root crown excavation, targeted mulching, and a follow-up soil test; the tree regained vigor over two seasons and avoided costly removal.
Document each inspection with timestamped photos and a 1–5 severity score. Consistent records make condition trends visible and reduce unnecessary emergency calls.
Judgment call most homeowners miss: Not all visible fungi or dead branches require removal. The important question is extent and trend — a single small conk on a mature, otherwise healthy specimen should be monitored and documented, while multiple conks or progressive crown loss usually demands immediate arborist evaluation. Refer to the International Society of Arboriculture for inspection standards.
Pruning and Trimming: Timing, Techniques, and When to Hire Mr Tree Inc.
Pruning is not decorative clipping; it is a targeted intervention that changes a tree s future risk profile. Do the right cuts at the right time and you reduce failure points and pest pressure. Do the wrong cuts or too much at once and you create a multi-year recovery problem that invites decay and epicormic sprouts.
Practical pruning objectives and the correct cuts
Key objectives: health, structure, clearance, and hazard reduction. Use thinning cuts to remove competing branches at their origin, and reduction cuts to shorten a limb without leaving stubs. Avoid heading cuts on large limbs unless you plan staged follow up; they force dense regrowth low on the limb and increase weight near the tip.
- Thinning cut: remove a branch back to the parent branch or trunk outside the branch collar to improve wind-through and light penetration
- Reduction cut: shorten a branch to a lateral at least one third the diameter of the cut stem to preserve form and reduce sail area
- Avoid this error: cutting flush to the trunk or leaving stubs that prevent proper collar sealing and promote decay
Timing is species- and risk-dependent. For trees susceptible to vascular diseases in warm months, minimize summer pruning. For most hardwoods, heavier structural moves are best performed during dormancy to reduce bleeding and allow better wound callusing. This is a rule of thumb that must be adjusted by species and local pathogen pressure; consult a certified arborist for species-specific windows via Arborist Services.
Trade-off to accept: large restorative pruning on a mature tree usually cannot be done safely in one visit. Staged pruning over 12 to 36 months reduces shock and the likelihood of bark splitting, but increases total cost compared with an immediate removal. Sometimes removal is the more economical, lower-liability choice for a severely compromised specimen.
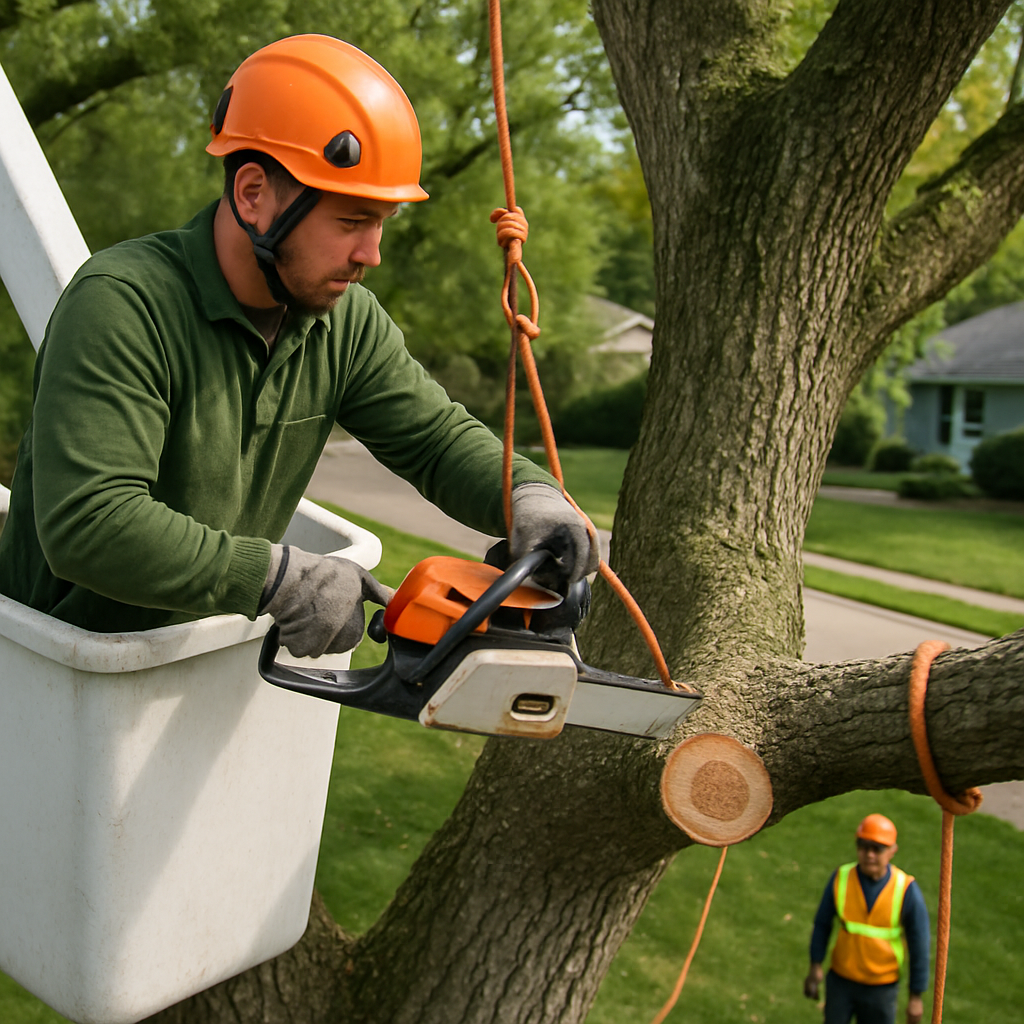
Concrete Example: Mr Tree Inc. performed a staged crown reduction on a 40-year-old plane tree that leaned toward a garage. The crew reduced 25 to 30 percent of the canopy the first winter, installed temporary cabling, and returned the next dormant season for a second phase. The staged approach preserved the tree and avoided a full removal while keeping risk to the structure within acceptable limits.
When to hire professionals: call Mr Tree Inc. for work that involves aerial lifts, rigging over roofs or lines, trees taller than 20 feet, or any visible internal decay. Also hire pros when the pruning objective is structural correction rather than cosmetic shaping. See Tree Trimming & Pruning for service details.
Follow up matters. After major cuts schedule a 6 to 12 month inspection to check for epicormic shoots, decay progression, and hardware integrity if cabling was used. Unchecked regrowth often creates new hazards that are more complex than the original problem.
Soil, Mulching, and Fertilization: Actionable Steps to Improve Root Health
Core point: Most chronic decline starts below grade. Surface symptoms — thin canopy, early leaf drop, epicormic shoots — are often downstream of compacted soil, poor organic matter, or incorrect mulch placement. Address the root environment first and canopy treatments will be far more effective.
Five practical interventions that change outcomes
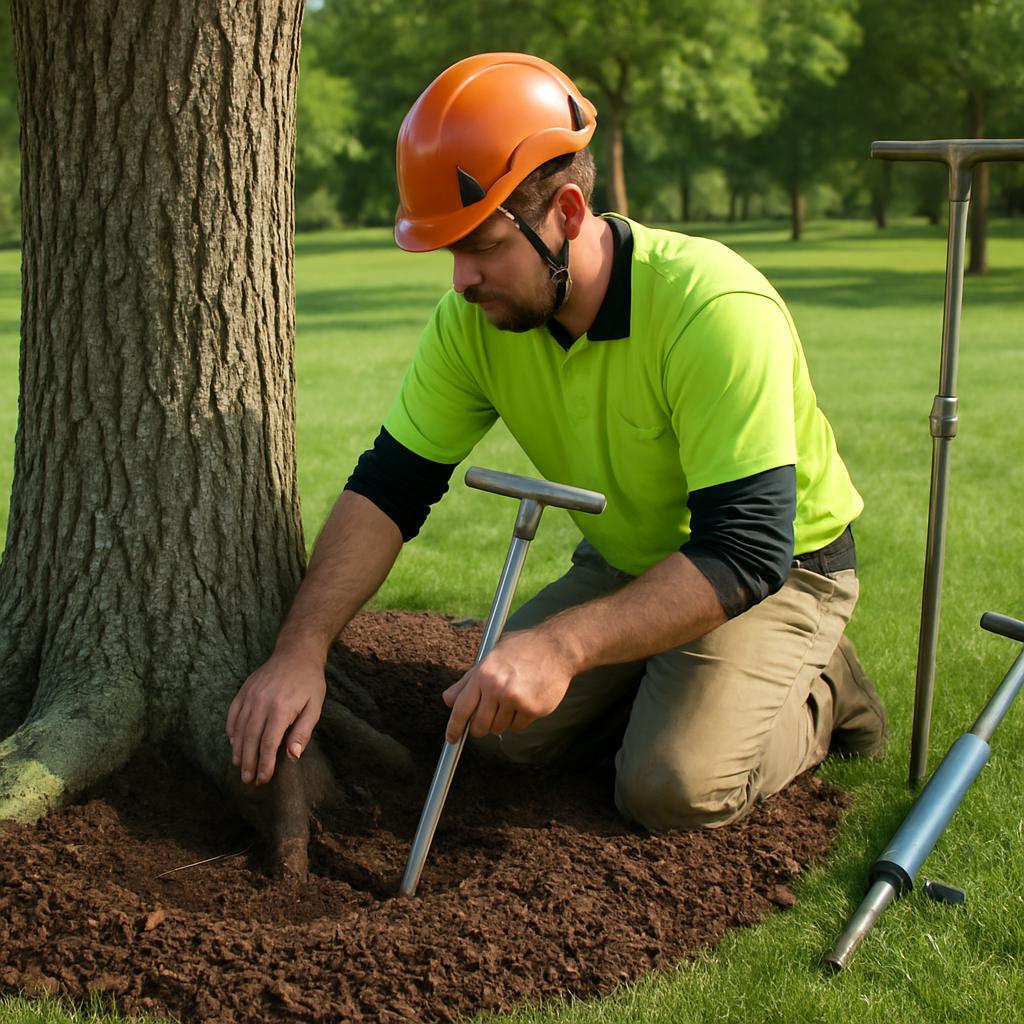
- Expose and inspect the root collar: Clear soil and mulch 4 to 6 inches from the trunk until the true root flare is visible; document girdling roots or buried flare and include photos when you request a professional assessment via Tree Health Assessment.
- Renew mulch correctly: Spread an organic layer between two and four inches thick in a single pass and keep it off the trunk by several inches; extend the ring to at least the dripline when practical, but avoid piling mulch where drainage is poor.
- Run a soil test before fertilizing: Submit a sample for pH, available phosphorus, potassium, and organic matter. Base any amendment plan on results rather than guesswork; most urban soils need organic matter more than fast-release nitrogen.
- Choose targeted delivery for nutrients: For established trees with poor root access use deep root fertilization or
soil injectionrather than surface broadcast. These methods place nutrients in the active root zone and reduce foliar flush that increases wind-loading and breakage. - Remediate compaction with care: Favor precise professional methods – radial trenching, vertical mulching with backfilled high-organic topsoil, or air excavation for critical root zones. Avoid aggressive rototilling that severs major roots.
Trade-off to accept: Techniques that rapidly improve aeration and nutrient access (deep root injections, vertical mulching) require equipment and expertise; DIY aeration tools give marginal benefit in heavily compacted soils and can harm roots if misapplied. If you see progressive decline, prioritize hiring arborist services for diagnostic testing and controlled remediation.
Concrete example: A homeowner had a 30-year-old oak beside a driveway where fill soil had buried the flare. Mr Tree Inc. performed a root crown excavation, replaced the compacted soil with a coarse, high-organic mix, refreshed the mulch ring laid to specification, and applied a single deep root fertilization. Over two growing seasons the tree regained leaf density and vigor, avoiding a removal that the property manager had been considering.
Common mistake and judgment: Overapplying quick-release fertilizer is a frequent error. It forces rapid top growth, which looks good short-term but increases water demand and can destabilize shallow-rooted trees. Prefer slow-release formulations or targeted injections guided by a soil test; use a certified arborist for repeating injections in high-value specimens.
Next consideration: After remediation, schedule a follow-up inspection in 6 to 12 months to reassess compaction, mulch placement, and nutrient uptake. Persistent drainage problems or ongoing decline are not fertilizer problems; they are site problems that usually require structural soil fixes or drainage correction.
Pest, Disease, and Integrated Management Protocols
Surveillance beats schedule. Effective pest and disease control starts with consistent, documented monitoring rather than seasonal guesswork. Treat signs — unusual defoliation patterns, localized dieback, and new bore holes — as triggers to escalate diagnostics, not reasons to spray immediately.
A practical IPM framework for property trees
- Monitor and document: Walk properties monthly during active growth and after storms. Photograph affected parts from multiple angles, log dates, and note tree species and micro-site conditions; these records make lab diagnostics and treatment follow-up effective.
- Decide by threshold: Use simple, objective thresholds to avoid overreacting — for example, treat defoliation that is spreading between inspections or when more than one-third of scaffold branches show decline. Thresholds vary by species and value; get species-specific guidance from a certified arborist.
- Cultural controls first: Sanitation pruning, removing infected debris, correcting irrigation or drainage issues, and restoring root environments reduce pathogen loads and often eliminate the need for chemical controls.
- Targeted treatments last: When intervention is required, prefer targeted
trunk injections, soil drenches, or spot sprays applied by licensed arborists. These reduce non-target impacts and provide longer-lasting control than broadcast applications.
Practical trade-off: Systemic treatments such as trunk injections work well on high-value specimens and for borers or vascular pathogens, but they are costlier and usually require retreatment on a schedule. Widespread infestations are often cheaper to manage with selective removals and replanting than repeated injections.
Diagnostic workflow: When monitoring flags a problem, collect two types of samples: fresh foliage or branch sections for visual/microscopic ID, and cambial or soil samples for lab assays when root pathogens or internal decay are suspected. Use a certified arborist to interpret lab results and to design a treatment plan that combines cultural, biological, and chemical steps.
Limitation to accept: Pesticides and fungicides are not magic. Misdiagnosis is common and leads to wasted treatments, resistance development, and harm to beneficial insects. If you lack species-level ID or trend data, call for a professional tree health assessment via Tree Health Assessment before applying systemic products.
Concrete Example: A city block showed early emerald ash borer signs: thinning crowns and D-shaped exit holes. Mr Tree Inc. prioritized removal of heavily infested street ashes to protect public safety, injected a small number of high-value specimens with an appropriate systemic product, and scheduled biannual monitoring. Two years later the removals reduced local beetle pressure and the injected trees remained stable under watchful follow-up.
Judgment most property managers miss: Eradication is rarely realistic in urban settings; the goal should be containment and preservation of high-value trees while minimizing collateral damage. That means accepting periodic retreatments for select trees, investing in sanitation and site improvements, and replacing loss with more resistant species when appropriate.
Next consideration: if you observe progressive decline across multiple trees or signs that cross the treatment threshold, schedule a site-level arborist consultation to map treatments, record responsibilities, and budget staged interventions.
Risk Mitigation, Structural Support, and Emergency Preparedness
Immediate point: Risk reduction is about prioritizing targets, not eliminating every hazard. You will never remove all risk from mature trees without sacrificing value or canopy benefits; the practical goal is to reduce the probability of failure where it matters most and create a reliable escalation path for emergencies.
Triage framework: who and what to protect first
Triage rule: Score each tree on Likelihood (signs of failure, recent movement, root damage) and Consequence (proximity to people, buildings, utilities). High likelihood + high consequence = immediate action; low likelihood + low consequence = scheduled maintenance. This simple matrix turns judgment into action and helps allocate limited budget across tree maintenance services.
- Document before you call: take three photos (wide, trunk detail, root flare), note recent weather events, identify nearby targets (house, play area, vehicle), and measure approximate trunk diameter at chest height — this speeds triage and gives emergency crews vital context.
- Coordination items: if the tree contacts or threatens powerlines, contact the utility first and then request an emergency arborist response. Utilities have authority over lines and often coordinate cuts or power shutoffs.
- On-site quick checks: audible cracking, new lean, trunk splits, or major root exposure should move a tree into the immediate response category even if canopy loss seems minor.
Structural supports buy time, not immortality. Cabling and bracing can reduce movement in unions or between co-dominant stems and allow a tree to remain where removal would otherwise be recommended. Expect to inspect hardware annually and after major storms; cables, bolts, and braces typically require replacement or adjustment every 5 to 15 years depending on load, species, and exposure.
Trade-off: Installing support hardware delays removal and preserves specimen value, but it adds ongoing inspection and replacement costs and can complicate future removal logistics. For severely decayed trunks, supports only postpone the inevitable and can increase liability if not properly documented and maintained.
Field example: After a windstorm, Mr Tree Inc. triaged a suburban property with three compromised trees. Crews stabilized a high-value sugar maple with cabling and partial limb removal, prioritized the immediate removal of a heavily decayed ash leaning toward the garage, and scheduled stump grinding and site remediation the following week to restore safe access.
If you must choose one immediate action after storm damage: secure access and document hazards with photos. That preserves evidence for insurance and speeds up emergency service response.
What to expect from emergency tree maintenance services: Rapid triage, temporary stabilization (ropes, shoring, selective cutting), hazard removal when necessary, and a documented risk report with follow-up recommendations. Emergency crews prioritize life and property; aesthetic restoration and full-site cleanup are usually booked as follow-up work once hazards are removed. For urgent response, use Mr Tree Inc. Emergency Tree Services.
Final consideration: Treat mitigation and emergency planning as part of routine tree maintenance services rather than as one-off spending. A documented plan that links risk scores to scheduled arborist interventions reduces emergency costs and legal exposure when storms come through.
Action Plan Templates and Prioritization: How to Build a Maintenance Schedule
Start with a live action plan, not a static calendar. Build a schedule that ties each task to a specific tree, a risk score, a biological window, and a responsible party — then let that drive when you call tree maintenance services.
Core components of a usable action-plan template
- Tree ID and location: tag or map ID, species, DBH (diameter at breast height), and site constraints
- Task and purpose: e.g., crown thinning (hazard reduction), root aeration (soil improvement), or stump grinding (site restoration)
- Work window: date ranges tied to the species-specific biology and acceptable pruning seasons
- Priority score: numeric value derived from Risk, Value, and Cost-to-fix (see scoring method below)
- Assigned to: homeowner, landscape crew, or certified arborist with contact and estimated cost
- Trigger/exit criteria: what signs, post-work checks, or intervals close out the task (for example, follow-up inspection at 6 months)
Practical insight: Don t assume ideal pruning windows always win. Crew availability, weather, and municipal permits create real constraints. The smart plan sequences highest-risk work into the biologically acceptable window and pushes lower-risk aesthetic work into periods when crews are cheaper and less backlogged.
Priority scoring (simple, actionable): Rate each tree 1 to 5 for Risk (likelihood of failure), Value (heritage/specimen importance or proximity to assets), and CostRank (estimated cost to mitigate). Compute Priority = (Risk 0.5) + (Value 0.35) – (CostRank * 0.15). Schedule highest Priority values first; tweak weightings to reflect your budget emphasis.
Concrete Example: A 30-inch oak leaning toward a garage gets Risk=5, Value=5, CostRank=3. Priority = (50.5)+(50.35)-(3*0.15) = 4.05. That score pushes it ahead of three ornamental cherries scored under 2.5. The property manager scheduled immediate arborist assessment and placed minor trimming and mulching on a lower-cost quarterly crew run.
Limitation to accept: Numeric scores standardize decisions but conceal nuance. A moderate score on a veteran specimen may deserve preservation over a slightly higher-scoring young tree slated for removal. Use scores to prioritize, not to replace an arborist s judgment.
Make two operational rules: (1) combine canopy work with a root/soil check on the same mobilization when possible, and (2) force a follow-up inspection date into every work order.
Next consideration: incorporate a quarterly budget review into the schedule to re-score priorities after storms, pest detections, or development changes so the plan stays tactical rather than aspirational.
0 Comments